Tuesday, 24 November 2015

Module 1: Chapter 4: Shape and Pattern

Shapes in Outline

I found a couple of shapes I liked in photos I'd taken, a made a lino cut from one, and made a stamp with some fine cord from the other.  The third shape, which is probably the simplest and best for development into designs, is from two of the ivy leaves in the collagraph I made.  I did a rubbing from them, then made a lino cut.


Solid Shapes

I chose the ivy leaf design from the page above to use in these design exercises.  Scans of the designs are shown below as the photos of the design book pages won't show detail.


Diagonal lines using Spectrum Noir pens, with a solid shape over.
 
 
Opaque silver shape was glued to the paper which had some lines drawn on it, then more lines were drawn over the shape.  A translucent yellow shape was layered on top.

 
The next two really didn't work and I ditched them.


Shapes of varying sizes spiralling from a central point with translucent shapes over.


Shapes of different sizes cut from a double sided paper, spiralling from a point.  Each shape has the same section folded back to display a third colour and new shapes.


The above design was traced, drawn in ink, divided into four sections and coloured in counterchange.

 
Torn silver paper was laid on brown card.  Two shapes were placed on top - one opaque, one translucent.

 
I cut this one in half horizontally to produce two smaller images.

 
This is my favourite!  It reminds me of the torn paper work of Matisse.  (Below this image I've included a larger piece I made previously in this style)


I think the following has worked well

 
Based on a letter of the alphabet, I made a bad choice.  This isn't pleasing at all!


Module 1: Chapter 3: Texture and Surface Relief

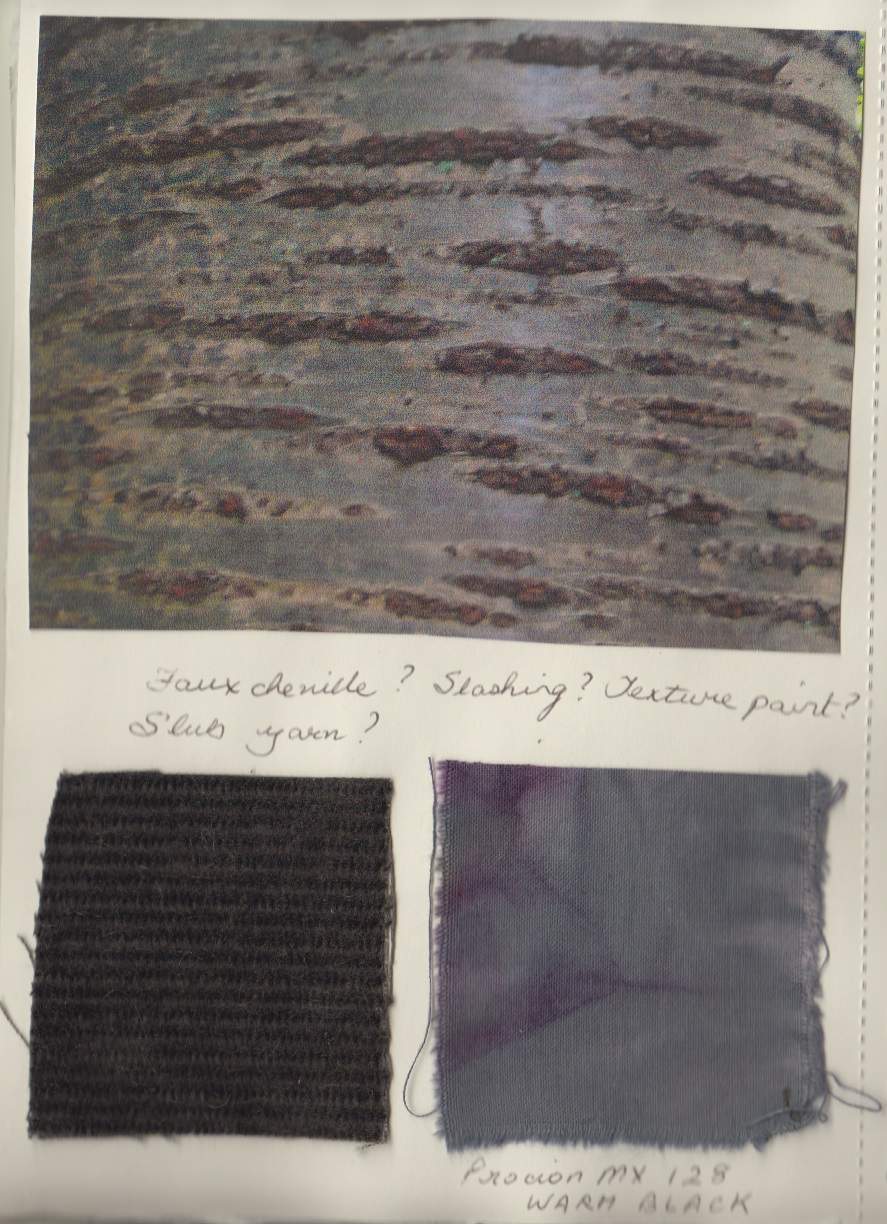
Tree barks provide an almost infinite variety of textures.  I tried to reproduce some of them, but there are many more materials and techniques that could be tried.  I hope that further in the course I'll have an opportunity to distress some synthetic fabrics, mix materials and yarns and play more with dimensional paints and products like Xpandaprint. 
 
This is the page from my design book, the texture samples are difficult to see, so I scanned them all before mounting.
 
 
Four layers of cotton fabric, stitched and partially slashed.
 

Boucle yarn

 
Xpandaprint

 
Layered Muslin, Wadding and Tyvek stitched, then the Tyvek shrunk with a heat gun to produce the gathering reminiscent of the bark of an oak tree.

 
Folded polyester wadding.

 
Polyfilla

 
Scrunched tissue paper

 
Wadding, muslin and yarn bonded with a hand felter.

 
2 layers of wadding bonded using an embellisher machine.

 
Tyvek shrunk with a heat gun.

 
Rafia

 
Paper raffia

 
I made a small textural study in white.  It's just too large to scan, so some boucle yarn on the tree on the left is missing from the picture, but it is there to represent lichen.  I used thread, rice, quinoa, parchment, raffia, polyfilla and porridge oats then painted it white with acrylic paint. 


For my last diploma course I produced a collagraph based on oak leaves (from carvings on the church).  The collagraph, and a quilt I made using a paper print stitched to hand dyed fabric, are shown below as they fit with the woodland theme.  I used this technique to make a new collagraph, although I no longer have access to a roller, so have done a rubbing instead.


.... and the new collagraph I made for this course.  It's varnished with boot polish which accounts for the brown colour.


Monday, 23 November 2015

Module 1: Chapter 2: Sketchbooks

I have 3 small sketchbooks, my main design-development sketchbook is A2 in size. The photos below show what I've done to date - I expect to do more sketches throughout the course which I'll include in later posts.

Sketches in the A5 and A4 sketchbooks will be scanned.  A watercolour sketchbook is 14.8 x 42cm which is too large to scan, so photos of the pages will be used together with a scan of part of the page.  I will also photograph the A2 pages, but scan any stitched samples unless they're too big.

Pen and Ink drawings from my A4 sketchbook. 

The first is a section of a tree that was covered in old ivy.  The ivy stems were different diameters and younger ivy had entwined itself amongst the older ivy.  The tree trunk was almost invisible.  Sadly, the tree is dying.

 
 In the next drawing, the ivy leaves in various sizes create lovely patterns.
 
 
The exposed roots of the trees form little protected spaces where seeds flourish as they are protected from people's feet!  Some of the shapes created are quite beautiful. 

 
A5 Sketchbook
 
My A5 sketchbook is the one I take to the woods to draw on site.


A piece of tree bark on a rubbing.


I laminated these small found objects to protect them.  Some interesting lines and textures in these.


These dead leaves have curled themselves into lovely shapes, so I had to draw them.  Small areas were still green and grey.  I've coloured them in with watercolour - and surprisingly, the cartridge paper hasn't warped at all.


Watercolour Sketchbook

The paper in the watercolour sketchbook is heavier, so I can play with wet media.  This first page is worked around the real leaf - left.  I made a stamp from soft-cut lino and was very pleased with the result.  The water colour paper gives texture to the leaf stamp.  I coloured the leaf in with watercolour, and the background is watercolour.  The second picture is a scan of the prints and shows a truer colour.


The background is watercolour with salt, and I've attached some pressed weeds.   

 
Pressed leaves.

 
Next, I wanted to try some texture.  I've used some net ribbon - not sure what it's called, but I found it at the Festival of Quilts and thought it would be good to use as a stencil.  I've used the actual ribbon in this, not as a stencil, and coloured the whole page with acrylics.  The rest of the piece is muslin which was scrunched to produce the woodland floor, and pulled into elongated shapes to give the effect of trees.  Again, the scanned image below is closest to the original - I think this has worked well!  Love it!


The background is simply watercolour roughly brushed over the surface.  I like both of these leaf images.  The one on the left is a rubbing using wax crayon.  The rubbing was cut out and coloured with watercolour, then stuck onto the page.  The stamped image on the right is the lino cut that I used previously.  I usually cut away all the background, but in this case, thinking about the rough ground the leaves lie on, I left the background rough.  I love the effect, so I collected 5 other leaves and made lino cuts using the same technique - prints and samples made from those will appear in a later post!


I had a mess of acrylics left after doing the textured sample, so I used them to make a background with them and stuck some pressed leaves onto it - very effective!